How to Backup the Windows Registry
With the Windows registry being such a critical component in Windows operating systems, you would of course want to create backups of the Windows registry. The methodto backup the Windows Registry that works in all versions of Windows is to use the File -> Export option in the Registry Editor to save the contents of the selected key (including all subkeys) into a .reg file. The location of the export file can be selected, and the file can be copied to an external medium for safekeeping.
Backup the Windows Registry using Export
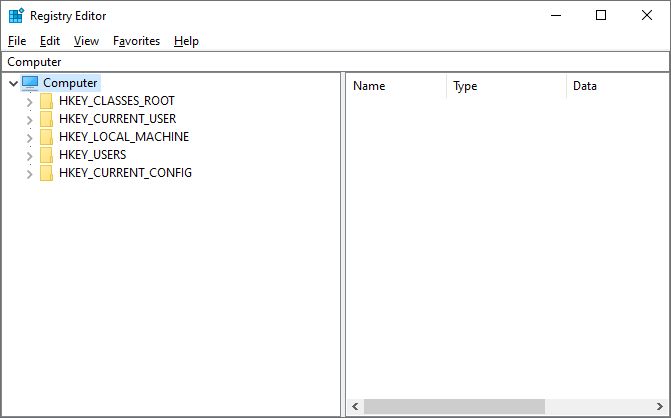
The Windows Registry Editor can be started by executing regedit with the Start -> Run command. In the most recent Windows version, you will be prompted to confirm starting the Registry Editor. Click Yes in the UAC windows if it appears.
When the Registry Editor window appears, make sure to select the highest level entry in the tree view (Computer, or My Computer).

Next, click the File menu option and select Export.
This will bring up a new window where you can select the backup file location. Select the path for the backup file, type a name for the backup file, and click the Save button.
Depending on the size of the Windows Registry and the performance of the drive in the backup path, the export process can take a little time.
Once complete, check the destination path for the presence of the export file. The size of the file can be quite large, so consider creating an archive from it (ZIP) to reduce the size. Especially if you create Windows registry backups regularly this is a good idea. On a Windows 10 system, the export file was 410MB, which was only 26 MB in ZIP format.
Backup the Registry in older Windows versions
In Windows 2000 you can also make a backup of the Windows registry by creating an Emergency Repair Disk.
In Windows XP the easiest way to make a full backup of the Windows Registry is to execute C:\Windows\system32\restore\rstrui.exe (change the drive according to your configuration).
This will start the System Restore module, which allows you to create a restore point manually.

Simply select the Create a restore point radio button and click the Next button. Then type a Restore point description, and click the Create button. Wait for the restore point to be created and finally click the Close button.
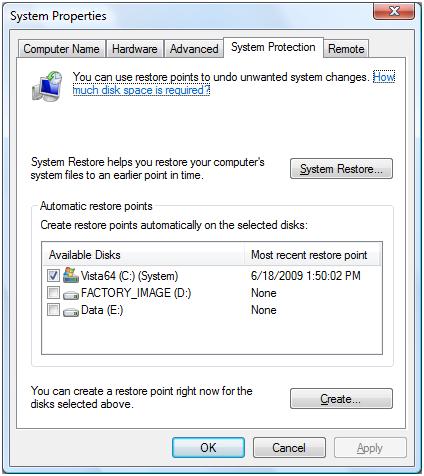
In Windows Vista, the system restore feature is accessible from the control panel. First select System and Maintenance in the Control Panel. Next, select System. In the Tasks panel on the left-hand side, select System protection. Click the Continue button in case the UAC message pops up. In the System Properties dialog box, the System Protection tab will now be shown as the active tab.

To create a registry backup, click the Create button to create a new restore point. Enter a description for the restore point and click the Create button.
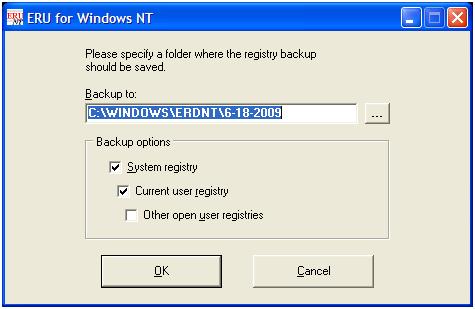
A third option is to use special registry programs that can be used to perform maintenance on the registry, including a backup. An example of a 3rd party program that can be used for registry backups only is Emergency Recovery Utility NT (ERUNT). This program can be used on NT, W2K, and XP, and is very simple to use. When you execute the program, it automatically asks you for a location to store the registry backup.

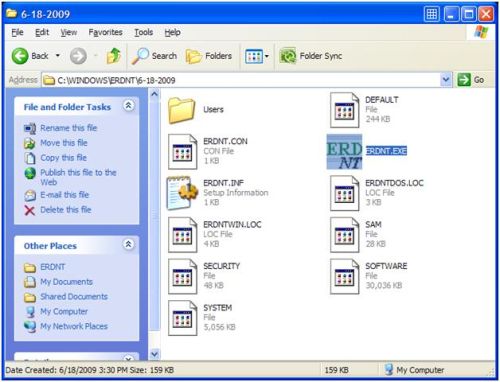
After you select the backup folder and click OK, the program makes a backup of the registry. The backup folder will also contain a program file called ERUNT.EXE, which is all you need to restore the backup at any point in time.

ERUNT should not be used on Windows Vista as it was not designed for Vista, and the Vista registry is not exactly the same as the registry on earlier Windows versions.
Of course there are many other free and commercial registry programs that can be used to backup (and restore) the Windows registry.


3 Responses
[…] “VID_”. Find the related entry to your USB device and then delete it. Make sure you make a backup of the registry before deleting anything! Restart Windows and then try plugging the USB device […]
[…] that you need to edit the registry to force the resolution to be changed. So first make a backup of the registry so you can revert back to that in case of […]
[…] solution requires modifications to the Windows registry. Make a backup of the registry before you make any […]