How to Install a Scanner or Digital Camera Using the Scanner and Camera Installation Wizard in MS Windows XP Professional
by Anthony · Published · Updated
- Go to the Windows Start menu, select the Control Panel option, select the Scanners and Cameras icon and then click the Add Device button.
- The Scanner and Camera Installation Wizard appears. Click the Next button.
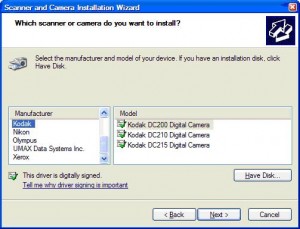
- Select the scanner or camera model to install and then click the Next button.
- Connect the scanner or camera to the computer and then select a port. Click the Next button.
- Enter a name for the device and then click the Next button.
- Click the Finish button.
- If the scanner or camera is not listed, then place the CD installer that contains the device driver of the scanner / camera.
- click Have Disk and follow the succeeding instructions.
- Select the Next button to install the device.
- Click the Finish button.
Tags: How Toms windows xp professional
You may also like...


this website is good